Linking Judge0 to Fastapi Server
published: July 19, 2026
tags:
fastapi |
judge0 |
reading time: 4 minutes
by @ibrathesheriff 
In Self-hosting Judge0 I detailed the steps I took to self-host Judge0 on Hetzner. This note details the steps I took after that deployment to link a fastapi server to the self-hosted Judge0 instance.
Step 0: Write some fastapi code
I intend to use the Judge0 instance I self-hosted to run student code on hackthedegree. Here is the API route I created. I wanted to get something going fast so this is all I needed.
...

class CodeSubmission(BaseModel):
    source_code: str
    language: str
    stdin: str | None = None

LANGUAGE_MAP = {
    "python": 71,
    "c": 50,
    "java": 62
}

@app.post("/api/run")
def run_code(submission: CodeSubmission):
    language_id = LANGUAGE_MAP.get(submission.language.lower())

    if language_id is None:
        raise HTTPException(
            status_code=422,
            detail=f"Unsupported language '{submission.language}'."
        )

    result = submit_code(
        source_code=submission.source_code,
        language_id=language_id,
        stdin=submission.stdin
    )
    return result
The submit_code function uses the requests module to execute a code submission with the Judge0 instance that is working on port 2358.
I used a .conf for my configuration parameters.
Step 1: Set requirements.txt
Key requirements:
fastapiuvicornrequestspydantic
Step 2: Setup a Dockerfile
All you will need to get started:
FROM python:3.11-slim
WORKDIR /app
COPY requirements.txt .
RUN pip install --no-cache-dir -r requirements.txt
COPY . .
CMD ["uvicorn", "api.hotscript:app", "--host", "0.0.0.0", "--port", "8000"]
The fastapi server code is in the file hotscript.py in a Python package named api.
Step 3: Add the deployment key
I added a SSH key on my Hetzner cloud instance and then added it as a deployment key to the GitHub repository.
Step 4: Clone repository
I cloned the fastapi project repository directly into the Judge0 directory.
cd judge0-v1.13.1
git clone <github-repo>.git
Step 5: Integrate Hotscript into Docker Compose
From the judge0-v1.13.1 directory open the main docker-compose.yml file
vim docker-compose.yml
And add your API as a new service at the bottom:
services:
  # ... existing judge0 services (server, workers, db, redis) ...

  hotscript:
    build: ./hotscript # Path to your cloned FastAPI folder
    ports:
      - "8000:8000"
    depends_on:
      - server
    restart: always
I called my project hotscript.
Step 6: Set Up a Reverse Proxy - Nginx
sudo apt update
sudo apt install nginx python3-certbot-nginx -y
Open the default Nginx configuration file:
sudo vim /etc/nginx/sites-available/default
Find the location / block inside the server block and update it to look like this:
server {
    listen 80 default_server;
    listen [::]:80 default_server;

    server_name _; # This catches all traffic hitting the IP

    location / {
        proxy_pass http://127.0.0.1:8000;
        proxy_set_header Host $host;
        proxy_set_header X-Real-IP $remote_addr;
        proxy_set_header X-Forwarded-For $proxy_add_x_forwarded_for;
        proxy_set_header X-Forwarded-Proto $scheme;
    }
}
Save the changes.
Execute to reload nginx:
sudo nginx -t && sudo systemctl reload nginx
Test by going to http://95.216.195.228:8000/docs
Voilà!
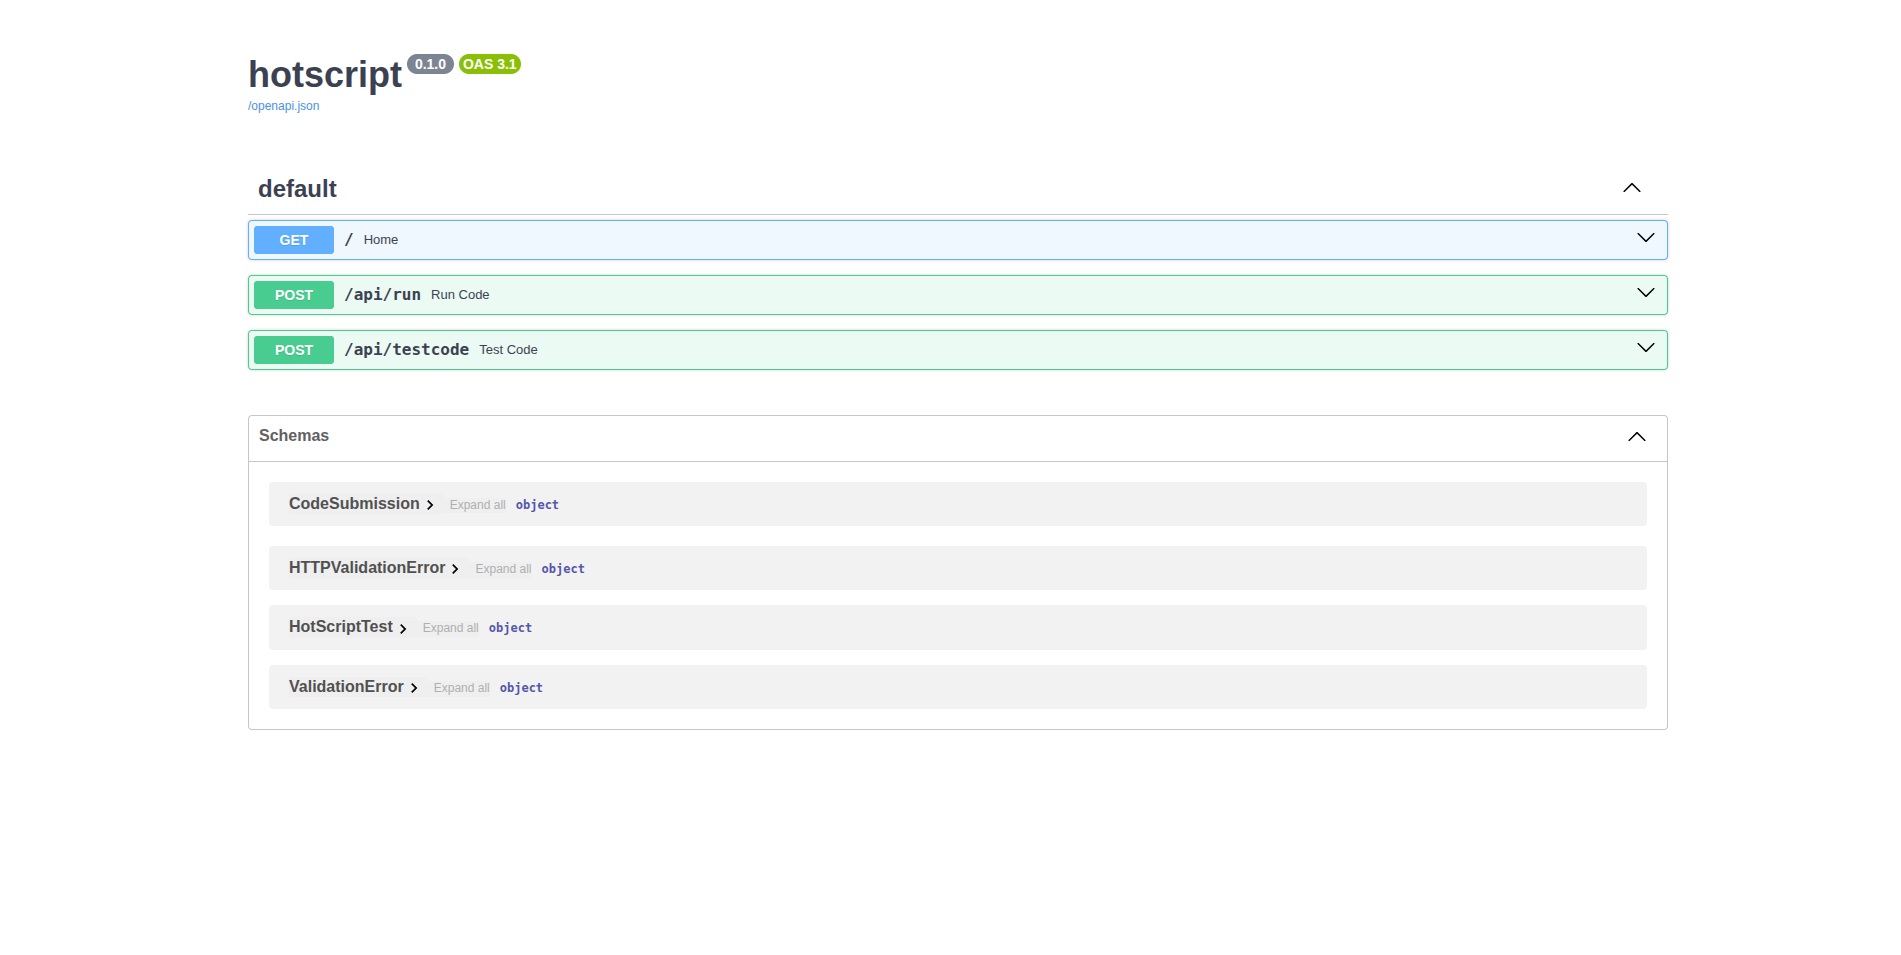
Testing the Code Submission Route
I created a file called tester.py to test the route:
import requests

JUDGE_URL = "http://<HETZNER_SERVER_IP_ADDRESS>:8000/api/run"

submission = {
  "language": "python",
  "source_code": "print('Hello HackTheDegree')",
  "stdin": ""
}

# Create submission
response = requests.post(JUDGE_URL, json=submission).json()

#response.raise_for_status()

print(response)
And I received,
{
    'stdout': 'Hello HackTheDegree\n',
    'time': '0.02', 'memory': 3144,
    'stderr': None,
    'token': '9e67d324-4b27-4b3b-b4ce-9c476a7cdbdc',
    'compile_output': None,
    'message': None,
    'status': {
        'id': 3,
        'description': 'Accepted'
    }
}
It actually works! So we have:
Request <-> hostscript fastapi <-> Judge0
Now, let’s put everything on the domain
I want to call my API via a hackthedegree subdomain so these are the steps I used to get that setup.
Step 0: Setup subdomain for API
I added an A DNS Record:
- Host / Name: subdomain name
- Value / Destination: Hetzner server IP address
- TTL: 600.
Step 1: Clean Up Testing Defaults
Open /etc/nginx/sites-available/default to clean up the testing setup:
sudo vim /etc/nginx/sites-available/default
Find location / and change proxy_pass back to its original state (or delete the file if you aren’t using it), save, and exit.
Step 2: Create the Domain Block
Create a dedicated configuration profile specifically for your subdomain:
sudo nano /etc/nginx/sites-available/<subdomain>.<domain>.<extension e.g. com>
Then add the following:
server {
    listen 80;
    server_name <subdomain>.<domain>.<extension e.g. com>;

    location / {
        proxy_pass http://127.0.0.1:8000;
        proxy_set_header Host $host;
        proxy_set_header X-Real-IP $remote_addr;
        proxy_set_header X-Forwarded-For $proxy_add_x_forwarded_for;
        proxy_set_header X-Forwarded-Proto $scheme;
        proxy_buffering off;
    }
}
Step 3: Symlink and Reload Nginx
Link this profile to the live directory to activate it:
sudo ln -s /etc/nginx/sites-available/<subdomain>.<domain>.<extension e.g. com> /etc/nginx/sites-enabled/
Then test the web server’s configuration syntax:
sudo nginx -t
If it returns syntax is ok, reload Nginx to push it live:
sudo systemctl reload nginx
Step 4: Provision the SSL Certificate
Install certbot
sudo apt update
sudo apt install certbot -y
Sweet, sweet HTTPS here we come!
sudo certbot --nginx -d api.hackthedegree.com
Enter your email and accept the Terms of Service.
Let’s Encrypt certs expire every 90 days, but Certbot sets up a systemd timer for this automatically. Confirm it’s active:
sudo systemctl status certbot.timer
Next, add a Firewall to ensure traffic only goes via the subdomain. No more IP:PORT access. Everything through nginx.